ZFS 存储池与 Dataset 基础操作
警告 ...
警告 ...
警告 ...
警告 ...
警告 ...
警告 ...
警告 ...
警告 ...

前言 受够了 Windows 永无止境更新?受够了 Windows 乱七八糟的各种预装软件?受够了微软的套壳浏览器占用系统资源?只想要一个干净的系统打游戏?或者你的电脑比较老旧跑新版本的 Windows 有点卡顿?你需要 Atlas OS! 什么是 Atlas OS Atlas OS 是一个基于 Windows 10 定制的操作系统,旨在为游戏玩家提供更优秀的游戏性能和更低的延迟。它删除了许多非必要的系统组件和后台进程,从而节省了大量系统资源,使其更适合于专门的游戏 PC 或 Steam Deck 等游戏主机。Atlas OS 是一个开源、免费的项目,旨在优化性能、隐私和安全。 如何下载 不同于常规的操作系统,Atlos OS 没有提供 iso 选项,这是由于对 Windows 镜像进行修补并再分发违反了微软的协议,Atlos OS 官方无法直接提供修改过后的系统。相反,你需要下载如下文件: AME Wizard Atlas Playbook 上面的文件在 Atlas OS 官网 首页即可找到,请尽量前往官网下载更新版本的 Atlos OS。其中 AME Wizard 相当于是安装器,而 Atlas Playbook 相当于是安装脚本。 安装完 Windows 后,运行 AME Wizard,它会按照 Atlas Playbook 对系统进行一系列的魔改,以实现安装的目的,并规避版权问题。 Atlas OS 删除了很多系统的功能,它甚至删除了蓝牙和 WiFi 功能,可谓是极致极简。如果你对某些功能有需求,可以在安装完成后执行 Atlos OS 提供的脚本恢复你想要的功能。 安装步骤 按照正常流程安装 Windows 10 22H2 安装过程断网,不登陆微软账号 安装硬件驱动,确保电脑可以正常使用 打开 AME 工具 把 aptx 脚本拖入 按照软件指示下一步 重启后软件会自启动 安装完成后可以删除安装工具 执行桌面下 atlas 的脚本可以启用一些需要的功能 可能遇到的问题 在第 7 步可能会由于网络问题,程序会无限循环,这不是 Atlos OS 引发的问题,请使用畅通的国际网络。 ...
前言 由于电子设备比较多,蓝牙耳机配对的设备也比较多,这就引起了一个问题,本来连着手机听歌听的好好的,电脑开机之后就会自动抢占蓝牙耳机的信号,导致我还得重新在手机上连接耳机,严重影响听歌体验,于是就查询了如何禁用电脑自动连接的行为,希望这篇文章对你也有用。 如何操作 编辑 /etc/bluetooth/main.conf 这个文件: sudo vim /etc/bluetooth/main.conf 找到这些内容: # AutoEnable defines option to enable all controllers when they are found. # This includes adapters present on start as well as adapters that are plugged # in later on. Defaults to 'true'. # AutoEnable=true 修改配置文件,禁用自动连接: AutoEnable=false 重启设备,测试效果。
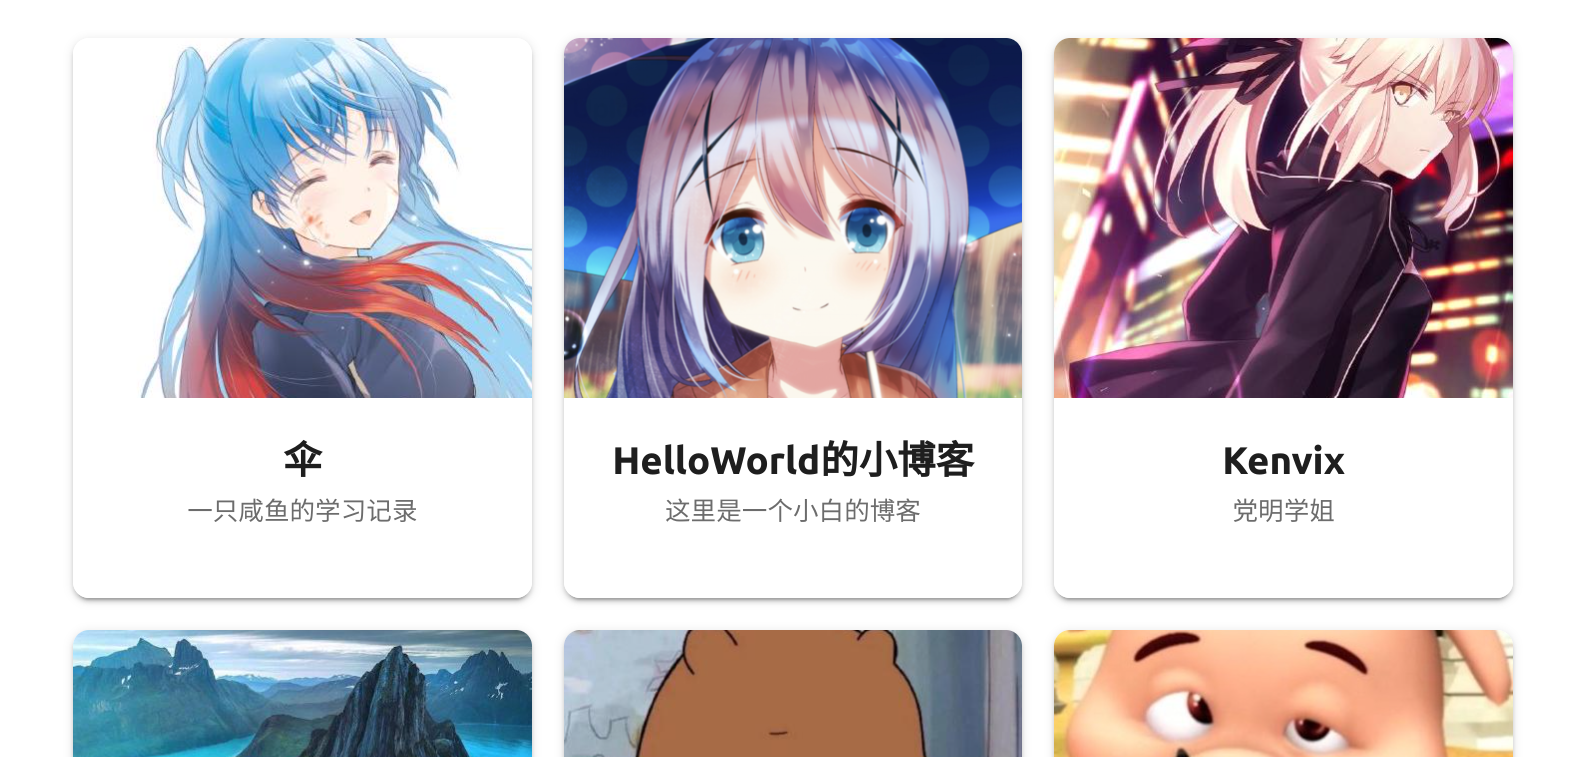
PaperMod 是一个非常棒的博客主题,但是它不支持友链,所以你要自己写一些代码。 完整代码 把下面的代码存储在 layouts/shortcodes/friends.html <style type="text/css"> .friends { --link-count-per-row: 1; } @media screen and (min-width: 576px) { .friends { --link-count-per-row: 2; } } @media screen and (min-width: 768px) { .friends { --link-count-per-row: 3; } } .friends { display: grid; grid-template-columns: repeat(var(--link-count-per-row), 1fr); grid-gap: 16px; } /* 空间占位 */ .friend-skeleton { height: 280px; display: inline-block; position: relative; } .friend { height: 100%; width: 100%; position: absolute; top: 0; left: 0; transition: 0.67s cubic-bezier(0.19, 1, 0.22, 1); border-radius: var(--radius); box-shadow: 0 3px 1px -2px rgba(0, 0, 0, 0.2), 0 2px 2px 0 rgba(0, 0, 0, 0.14), 0 1px 5px 0 rgba(0, 0, 0, 0.12) !important; overflow: hidden; display: flex; flex-direction: column; justify-content: flex-start; align-items: center; } .friend:hover { transform: translateY(-8px); box-shadow: 0 3px 5px -1px rgba(0, 0, 0, 0.2), 0 5px 8px 0 rgba(0, 0, 0, 0.14), 0 1px 14px 0 rgba(0, 0, 0, 0.12) !important; } .friend-avatar { object-fit: cover; width: 100%; height: 180px; margin: 0 !important; border-radius: 0 !important; } .friend-content { text-align: center; flex: 1; width: 100%; padding: 16px; background: var(--entry); transform: translate3d(0, 0, 0); } .friend-name { font-size: 1.2rem; font-weight: bold; transform: inherit; } .friend-description { font-size: 0.8rem; color: var(--secondary); transform: translate3d(0, 0, 0); } </style> <div class="friends"> {{ range .Site.Data.friends }} <div class="friend-skeleton"> <a href="{{ .link }}" target="_blank"> <div class="friend"> <img class="friend-avatar" src="{{ .image }}" /> <div class="friend-content"> <div class="friend-name">{{ .title }}</div> <div class="friend-description">{{ .intro }}</div> </div> </div> </a> </div> {{ end }} </div> <!-- style code by https://github.com/fissssssh --> <!-- view https://github.com/fissssssh/fissssssh.github.io for more detail --> 用法 在 data/friends.yml 中添加你的友链数据,示例: - title: "伞" intro: "一只咸鱼的学习记录" link: "https://umb.ink/" image: "https://avatars.githubusercontent.com/u/53655863?v=4" - title: "HelloWorld的小博客" intro: "这里是一个小白的博客" link: "https://mzdluo123.github.io/" image: "https://avatars.githubusercontent.com/u/23146087?v=4" 在 Post 中按如下方式引用即可: {{< friends >}}