前言
距离上一次写博客文章已经很长时间了,因为经常重装系统,而每次在电脑上安装和配置 hexo 的博客都是一件比较麻烦的事情,于是就一直咕了。但是最近我发现了 hugo 这一简洁好用的博客系统,可以让我远离配置安装都又慢又麻烦的 hexo,使用下来体验很棒,而我恰好又打算换一个博客主题,于是决定使用 hugo 来搭建我的新博客。本文简要介绍如何安装和使用 hugo。
安装
你可能需要
- go 的开发环境
- git
- 一个顺手的编辑器
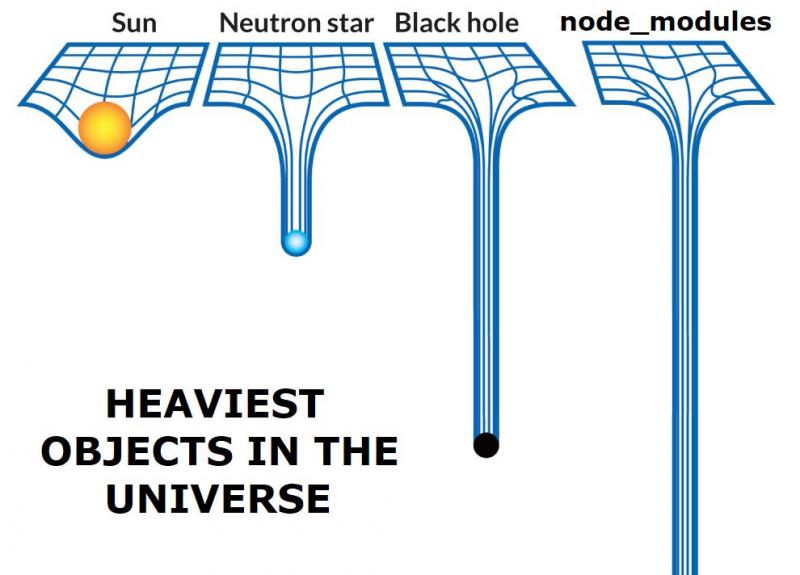
你一定不需要
- nodejs
- npm
安装 hugo
要安装 hugo 非常简单,以 fedora 系统为例,只需要执行如下指令:
sudo dnf install hugo
创建站点文件夹
使用以下指令创建你的站点文件夹:
hugo new site blog
切换到工作目录进行后续操作:
cd blog
使用 git 进行版本控制:
git init
安装主题
挑选好合适的主题后,将其直接 clone 在 ./themes 文件夹下即可。
git clone https://github.com/adityatelange/hugo-PaperMod themes/PaperMod --depth=1
使用
--depth=1参数会忽略历史 commit 记录。
当然,下载解压压缩包的方式也是可以的。
如果想要方便版本控制和更新,使用如下指令添加 submodule:
git submodule add https://github.com/adityatelange/hugo-PaperMod.git themes/PaperMod --depth=1
当重新 clone 仓库后,执行如下指令 clone 主题子仓库:
git submodule update --init --recursive
更新主题:
git submodule update --remote --merge
配置
hugo 支持多种配置文件格式,由于 yaml 格式的配置文件更易读,下文将默认使用 yaml 配置。
与 hexo 不同,hugo 的配置文件只有一个,按照你所使用的主题提供的文档来修改你的配置文件即可。
应用主题
theme: "PaperMod"
修改主题配置
不同的主题会有不同的配置方法,具体查看主题提供的文档。
请参考如下配置:
baseURL: "https://aimerneige.com/"
languageCode: "en-us"
title: "AimerNeige's Blog"
theme: "PaperMod"

enableRobotsTXT: true
buildDrafts: false
buildFuture: false
buildExpired: false

defaultContentLanguage: en
defaultContentLanguageInSubdir: true

languages:
  en:
    languageName: "English"
    weight: 1
    menu:
      main:
        - name: About
          url: about/
          weight: 5
        - name: Friends
          url: friends/
          weight: 6
        - name: Post
          url: post/
          weight: 7
        - name: Archive
          url: archives/
          weight: 8
        - name: Tags
          url: tags/
          weight: 9
        - name: Categories
          url: categories/
          weight: 10
        - name: Search
          url: search/
          weight: 11
  zh:
    languageName: "中文"
    weight: 2
    menu:
      main:
        - name: 关于
          url: about/
          weight: 5
        - name: 朋友
          url: friends/
          weight: 6
        - name: 文章
          url: post/
          weight: 7
        - name: 归档
          url: archives/
          weight: 8
        - name: 标签
          url: tags/
          weight: 9
        - name: 分类
          url: categories/
          weight: 10
        - name: 搜索
          url: search/
          weight: 11
    params:
      profileMode:
        enabled: true
        title: "Aimer Neige"
        subtitle: "技术宅拯救世界"
        imageUrl: "https://avatars.githubusercontent.com/u/51701792?v=4"
        imageTitle: "avatar.jpeg"
        imageWidth: 140
        imageHeight: 140

params:
  env: production
  keywords: [Blog, OpenSource, Coding, Golang, Programming]
  author: "Aimer Neige"
  defaultTheme: auto
  disableThemeToggle: false

  ShowToc: true
  TocOpen: false
  ShowBreadCrumbs: true
  ShowReadingTime: false
  ShowPostNavLinks: true
  ShowShareButtons: false
  ShowCodeCopyButtons: true
  displayFullLangName: true

  editPost:
    URL: "https://github.com/aimerneige/blog/content"
    Text: "Suggest Changes"
    appendFilePath: true

  homeInfoParams:
    Title: "Aimer Neige"
    Content: "Tech Otakus Save The World"

  profileMode:
    enabled: true
    title: "Aimer Neige"
    subtitle: "Tech Otakus Save The World"
    imageUrl: "https://avatars.githubusercontent.com/u/51701792?v=4"
    imageTitle: "avatar.jpeg"
    imageWidth: 140
    imageHeight: 140

  socialIcons:
    - name: github
      url: "https://github.com/AimerNeige"
    - name: twitter
      url: "https://twitter.com/NeigeAimer"
    - name: steam
      url: "https://steamcommunity.com/id/AimerNeige"
    - name: Telegram
      url: "https://t.me/AimerNeige"
    - name: KoFi
      url: "https://ko-fi.com/aimerneige"
    - name: RsS
      url: "index.xml"

taxonomies:
  category: categories
  tag: tags
  series: series

outputs:
  home:
    - HTML
    - RSS
    - JSON
迁移
将原有文章复制到站点文件夹下,修改配置。
测试
使用如下指令启动本地测试服务。
hugo serve -D
部署
使用如下指令生成静态文件:
hugo
之后上传到 github 即可:
cd public
git add -A
git commit -m "commit message"
git push